10 Creative DIY Ideas: Transform Your Household Message Board into a Powerful Communication Hub!
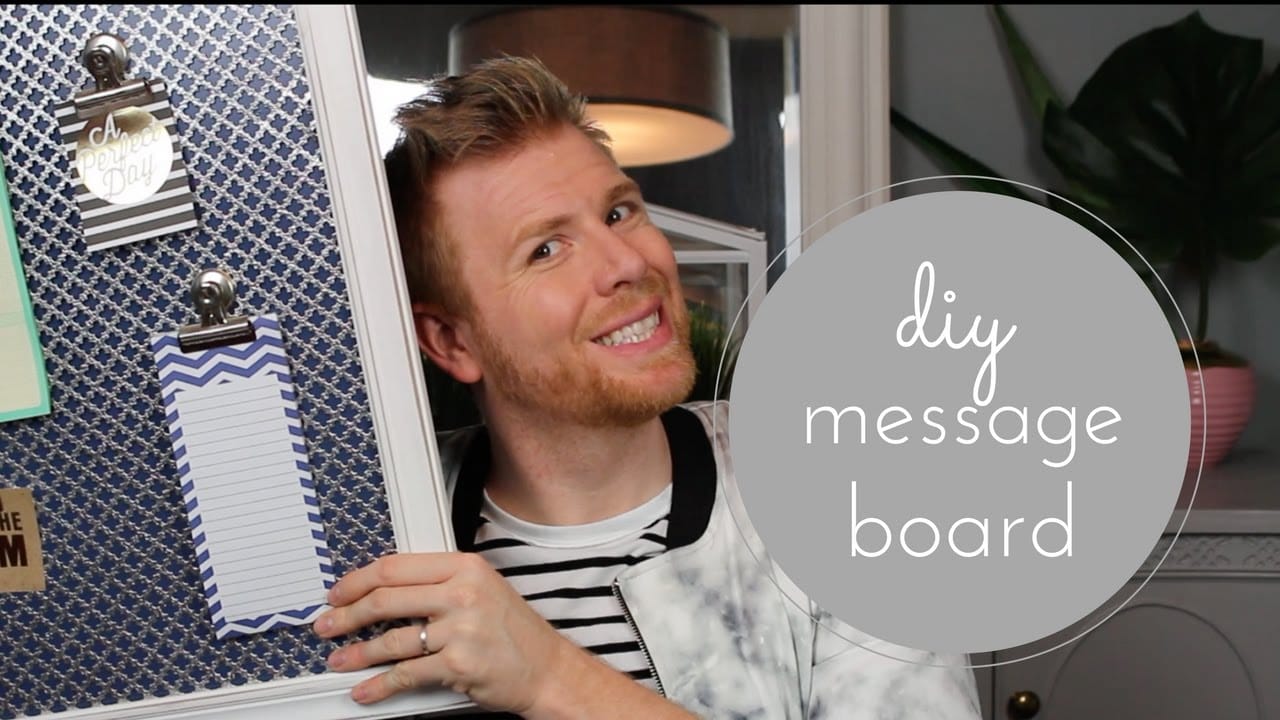
Here is a quick and easy home DIY to organize all your notes, recipes, and other scraps of paper. It is nice to have one central …
source
DIY: Household Message Board
In today’s fast-paced world, keeping communication clear and organized at home can be a challenge. A household message board not only serves as a practical tool for jotting down reminders, notes, and important information but also adds a personal touch to your living space. Whether you’re a busy family or a solo dweller, a DIY message board is an easy and affordable project that can enhance your home’s functionality and aesthetics. Here, we’ll guide you through the process of creating your own household message board.
Materials Needed
Before you start crafting your message board, gather the following materials:
- Base Material: Choose a sturdy base like corkboard, a magnetic board, canvas, or a wooden board.
- Frame (optional): A decorative frame can enhance the look of your message board.
- Paint or Wallpaper (optional): To give the board a personalized touch, use paint or wallpaper that matches your home decor.
- Markers or Chalkboard Paint: If you want a write-and-wipe surface, consider using chalkboard paint or dry-erase markers.
- Push Pins or Magnets: Depending on your base material, you may need push pins or magnets to attach notes.
- Tape (optional): Washi tape can add a decorative flair.
- Hangers or Clips: For attaching papers and reminders in a stylish way.
Steps to Create Your DIY Message Board
Step 1: Choose Your Location
Decide where you want to hang your message board. Popular spots include the kitchen, home office, or hallway—any area where communication and reminders are frequently needed.
Step 2: Prepare Your Base
If you’re using a board that needs decorating, go ahead and paint or cover it with wallpaper to match your style. Ensure it’s completely dry before moving on to the next step.
Step 3: Frame Your Board (optional)
If you’ve chosen to use a frame, now is the time to attach your board to it. A well-framed board can serve as a statement piece in your home.
Step 4: Mark the Sections
Depending on how you want to use your message board, consider marking off sections for different purposes—such as a calendar, grocery list, or to-do list. Use rulers or washi tape to create these lines.
Step 5: Add the Writing Surface
If you opted for a chalkboard or whiteboard finish, apply it now. For a chalkboard, simply paint the chosen area with chalkboard paint and let it dry. If using a magnetic board, you can simply start attaching magnets.
Step 6: Add Functional Elements
Now it’s time to attach any additional elements to your board:
- Clips: Secure clips on the board to hold papers or important documents.
- String: Create a “clothesline” effect by stringing twine or rope across a section of the board and using clothespins to hang notes.
- Hangers: Use adhesive hooks or small racks to hang keys or other small items.
Step 7: Personalize Your Board
This is your opportunity to make the message board truly yours! Add personal touches such as:
- Inspirational quotes
- Family photos
- Decorative stickers or magnets
- Labels for different sections
Step 8: Hang Your Message Board
Using nails or adhesive strips, hang your newly created message board in the chosen location. Ensure that it’s securely attached and can hold the weight of any items you plan to display.
Step 9: Start Using It!
Now that your message board is complete, start using it! Encourage family members or housemates to contribute to the board by adding reminders, schedules, and notes.
Tips for Maintenance and Organization
- Regular Updates: Make it a routine to review and update the message board weekly. This keeps information relevant and avoids clutter.
- Use Color Coding: Designate specific colors for different types of notes or messages (e.g., family events in blue, personal reminders in green).
- Limit Space: Keep the board from becoming overwhelming by allocating a small space for ideas, tasks, and reminders. This can also prompt clearer communication.
Conclusion
Creating a DIY household message board is a fun and engaging project that can transform your home’s organization and communication. With just a few materials and a bit of creativity, you can make a functional piece that reflects your personality while keeping your household running smoothly. So roll up your sleeves, gather your supplies, and let your creativity flow!


Post Comment