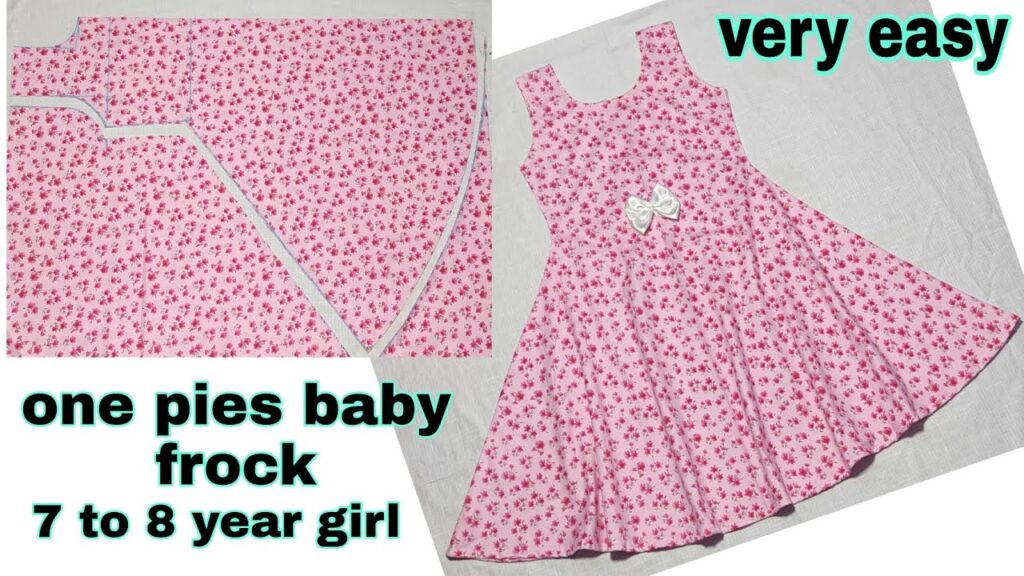
Onepiesbabyfrock.
source
One Piece Baby Frock Cutting and Stitching: A Simple Guide
Creating a one-piece baby frock is a delightful way to dress your little one in style. Not only does sewing a frock allow for creativity, but it also provides a uniquely personal touch to your child’s wardrobe. This guide outlines the steps for cutting and stitching a one-piece baby frock, making the process easy and enjoyable.
Materials Needed
- Fabric: Choose soft, breathable fabrics like cotton or linen for comfort.
- Sewing Machine: A basic machine will do; ensure it’s threaded and ready.
- Scissors: For cutting fabric.
- Measuring Tape: For accurate measurements.
- Pins: To hold fabric pieces in place.
- Pattern Paper: For drafting the frock shape.
- Sewing Pins and Thread: Matches the fabric color.
- Iron: For pressing seams.
- Embellishments: Optional (buttons, lace, etc.).
Step 1: Measuring
- Child’s Measurements:
- Chest: Measure around the fullest part of the chest.
- Waist: Measure around the waist.
- Length: Measure from the shoulder to the desired length of the frock.
- Armholes and Sleeves: If adding sleeves, measure the arm and the desired sleeve length.
Step 2: Drafting the Pattern
-
Basic Shape:
- On the pattern paper, use the measurements to draw out the basic shape of the frock. A simple A-line design is great for beginners.
- Include seam allowances (typically 1/4 inch) around the edges.
-
Add Sleeves:
- If you’re adding sleeves, draft a sleeve pattern based on your measurement for armholes.
- Cut the Pattern: Carefully cut out the pattern pieces.
Step 3: Cutting the Fabric
-
Lay Out Fabric:
- Fold the fabric according to the pattern—usually, you can fold it in half for symmetrical pieces.
-
Pin the Pattern: Secure the pattern pieces to the fabric using pins.
- Cut the Fabric:
- Use sharp scissors to carefully cut around the pattern, ensuring clean edges. Remember to cut out the sleeves, if applicable.
Step 4: Stitching the Frock
-
Sew the Bodice:
- Begin by sewing the shoulder seams together. Pin the pieces and use the sewing machine to stitch them together.
-
Sew the Sides:
- With the right sides of the fabric together, stitch along the sides of the frock.
-
Add Sleeves (if applicable):
- Attach the sleeves by pinning them to the armholes and sewing along the edges.
-
Hem the Bottom:
- Fold up the bottom edge of the frock and hem it by sewing a straight stitch along the fold.
- Neckline and Armholes:
- Finish the neckline and armholes by folding the fabric inward and sewing along the edges. This will give the frock a clean finish.
Step 5: Finishing Touches
-
Pressing: Use an iron to press all seams, which helps to set the fabric and gives the frock a polished look.
-
Embroidery and Embellishments: Add any decorative elements, such as lace trim, buttons, or embroidery for personalization.
- Final Inspection: Check for any loose threads or uneven hems and make necessary adjustments.
Conclusion
Making a one-piece baby frock is not only a rewarding project but also an opportunity to create lasting memories. Whether you are a seasoned sewing enthusiast or a beginner, this simple guide will help you cut, stitch, and design a frock that your child can wear with pride. Enjoy the process, and don’t hesitate to experiment with various fabrics and designs. Happy sewing!


