10 Essential Tools and Techniques: Mastering Pens, Ink, and Drawing for Stunning Art
Blog post with LOTS more info and pinnable images: https://bit.ly/3oMu4SX My Pen and Ink classes: …
source
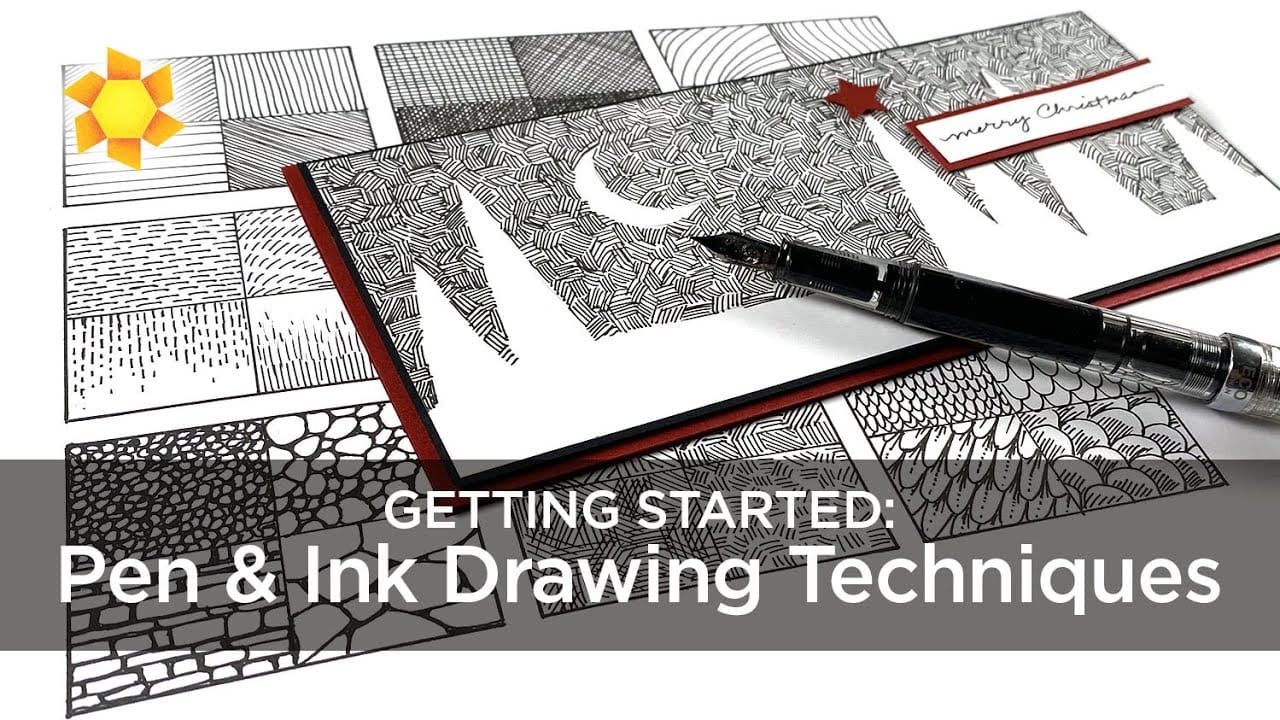
Getting Started: Pens, Ink, and Drawing Techniques
Drawing is an incredibly rewarding form of expression that combines creativity with technical skill. Whether you’re a complete beginner or seeking to hone your skills, understanding the tools of the trade is essential. This article will guide you through the fundamental materials—pens, ink, and basic drawing techniques—to help you embark on your artistic journey.
Choosing the Right Pens
1. Types of Pens
When it comes to drawing, the type of pen you choose can significantly impact your artwork. Here are a few popular options:
Ballpoint Pens: Widely available and affordable, ballpoint pens produce fine, consistent lines. While they can be limiting in terms of expressiveness, they are excellent for quick sketches and notes.
Gel Pens: These pens offer smooth ink flow and vibrant colors, making them a favorite among artists for adding detail to drawings. However, their ink can take longer to dry, so caution is needed to avoid smudging.
Fineliner Pens: These pens have a fine tip and are available in various thicknesses. They are perfect for detailed line work and offer a range of colors. Brands like Micron and Staedtler are popular choices.
Brush Pens: These versatile pens allow for varying line widths depending on the pressure applied. They are excellent for calligraphy and expressive line work, making them a staple in many artists’ toolkits.
- Fountain Pens: For a more traditional approach, fountain pens offer a range of nib sizes and the ability to use different ink types. They can yield expressive lines but may require more maintenance.
2. Ink Considerations
The type of ink you choose can alter the characteristics of your lines and artwork. Here are some considerations:
Waterproof vs. Non-Waterproof: Waterproof inks, like those from Indian ink or acrylic-based inks, allow for mixed media applications (like watercolors) after the ink dries without smudging. Non-waterproof inks can blend beautifully with additional washes but are less versatile.
- Opacity: Opaque inks are great for covering darker surfaces, while transparent inks can build beautiful layers and glazing effects.
Learning Basic Drawing Techniques
1. Lines and Shading
Mastering different line types is foundational for any drawing:
Contour Lines: These outline the shape of objects, adding definition and clarity.
Hatching and Cross-Hatching: These techniques involve drawing parallel lines (hatching) or intersecting lines (cross-hatching) to create shading and texture. Experiment with the direction and density of your lines for varied effects.
- Stippling: This method uses small dots to create texture and shading. It’s a time-consuming technique but results in a distinctive style.
2. Perspective and Composition
Understanding perspective and composition is crucial for creating depth in your drawings:
One-Point Perspective: Use a single vanishing point to create the illusion of depth. This technique is useful for drawing roads or railway tracks that seem to converge in the distance.
Two-Point Perspective: With two vanishing points on the horizon line, you can create more complex scenes, such as buildings viewed at an angle.
- Rule of Thirds: For composition, divide your paper into three equal sections both vertically and horizontally, and position the main elements of your drawing along these lines or their intersections to create balance.
3. Exploring Textures
Creating the illusion of different textures can bring your drawings to life:
Smooth: Use light pressure and thin, even lines for a polished look.
Rough: Employ jagged lines or stippling techniques to convey a rough surface, like bark or stone.
- Soft: Combine hatching and blending techniques to depict softer textures like skin or fabric.
Tips for Practicing
Sketch Daily: Develop your skills with regular practice, even if it’s just a few minutes a day. Sketch what you see around you or explore your imagination.
Experiment: Don’t hesitate to try various pens and ink types. Each combination will yield different results, helping you find your unique style.
Study Others: Analyze drawings from artists you admire. Pay attention to their line work, technique, and use of ink.
- Keep a Sketchbook: Document your progress, ideas, and experiments in a sketchbook. This will not only inspire future projects but also allow you to track your growth over time.
Conclusion
Getting started with pens, ink, and drawing techniques is an exciting journey filled with endless possibilities. By familiarizing yourself with the tools, practicing foundational techniques, and embracing creativity, you’ll gradually develop your distinctive style. Remember, the most important aspect of art is to enjoy the process. Happy drawing!


Post Comment