Hey there, parents! Are you looking for the perfect fancy dress for your little princess? Look no further than Lagan MST’s baby girl …
source
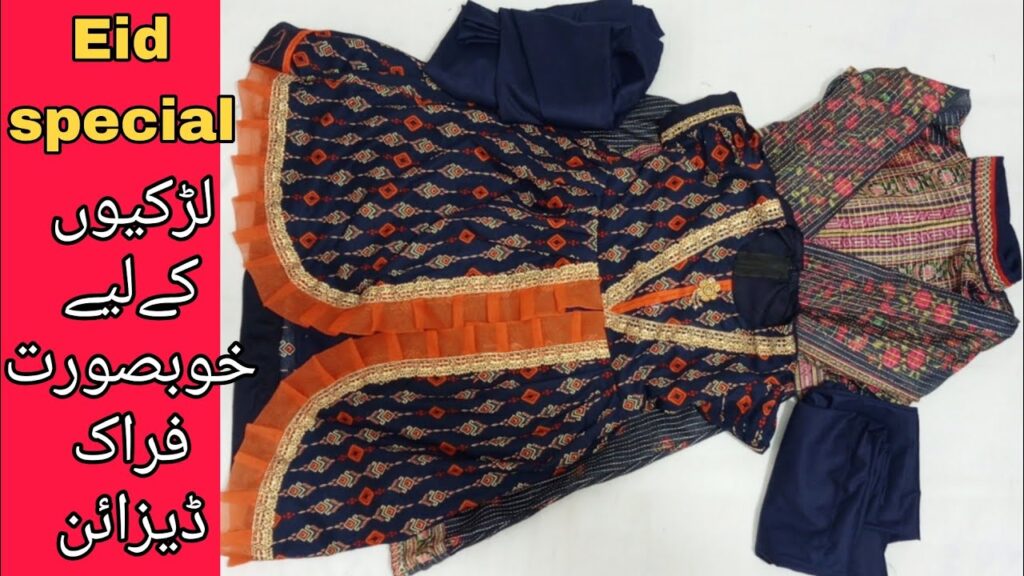
Design Beautiful Simple, Casual Fancy Frocks for Girls: A Full Tutorial for Eid
Eid is a festive occasion celebrated with joy and enthusiasm, and what better way to embrace the spirit of the holiday than with beautifully designed frocks for girls? In this detailed tutorial, we’ll guide you through creating simple yet fancy frocks that are perfect for the celebration. Grab your sewing kit, and let’s get started!
Materials Needed
- Fabric: Choose lightweight fabrics such as cotton, silk, or chiffon in vibrant colors or beautiful patterns.
- Thread: Match the color of your thread to the fabric.
- Sewing Machine: For quicker stitching and finishing.
- Scissors: Fabric scissors for clean cuts.
- Measuring Tape: To take accurate measurements.
- Pins: To hold pieces together before sewing.
- Pattern Paper: For drafting your designs.
- Embellishments: Lace, beads, or ribbons to add a fancy touch.
Step 1: Taking Measurements
To create the perfect fit, measure:
- Chest circumference
- Waist circumference
- Hip circumference
- Dress length (from shoulder to desired hemline)
- Sleeve length (if adding sleeves)
Step 2: Designing Your Frock
Classic A-Line Frock
- Cut the Pattern: On your pattern paper, draw an A-line shape that flares out from the chest.
- Add Seam Allowance: Include about ½ inch to 1 inch for seams.
- Cut the Fabric: Pin the pattern onto your fabric and cut it out.
Fancy Touches
- Layering: Consider a layered design with a shorter top layer in a contrasting color.
- Sleeves: You can design puff sleeves or keep it sleeveless for a more casual look.
- Neckline: A round or square neckline works well, but you could also experiment with V-shaped necklines.
Step 3: Sewing the Frock
- Prepare the Fabric: Iron your fabric to eliminate wrinkles for a neat finish.
- Sewing the Body: Start by sewing the side seams of the frock. Use a straight stitch for a clean finish.
- Adding Sleeves: If you opted for sleeves, sew them onto the bodice at the shoulder seams.
- Finishing the Neckline: Use bias tape or a facing to finish the neckline.
- Hemming the Frock: Fold the hem of the frock and sew it securely using a straight stitch.
- Adding Embellishments: This is where you can get creative! Sew on lace trims, beads, or fabric flowers to add a fancy flair.
Step 4: Final Touches
- Ironing: Give the whole frock a final press to eliminate any creases.
- Fit Test: Have the girl try on the frock to ensure the fit is just right. Make any necessary adjustments.
- Accessories: Pair the frock with matching accessories such as a headband or a bracelet for a complete look.
Conclusion
Designing and sewing a simple yet fancy frock for Eid can be a rewarding and enjoyable experience. This tutorial not only provides you with the basic steps but also encourages your creativity to flourish. Whether you personalize it with embellishments or experiment with colors, your little girl will surely look stunning in a frock crafted with love. Happy sewing, and Eid Mubarak!