lavis #nailtips #gelnails #nailart #nails #fallvibes #transformation #trendynail #nailcompilation #trend #beauty #tips #holiday .
source
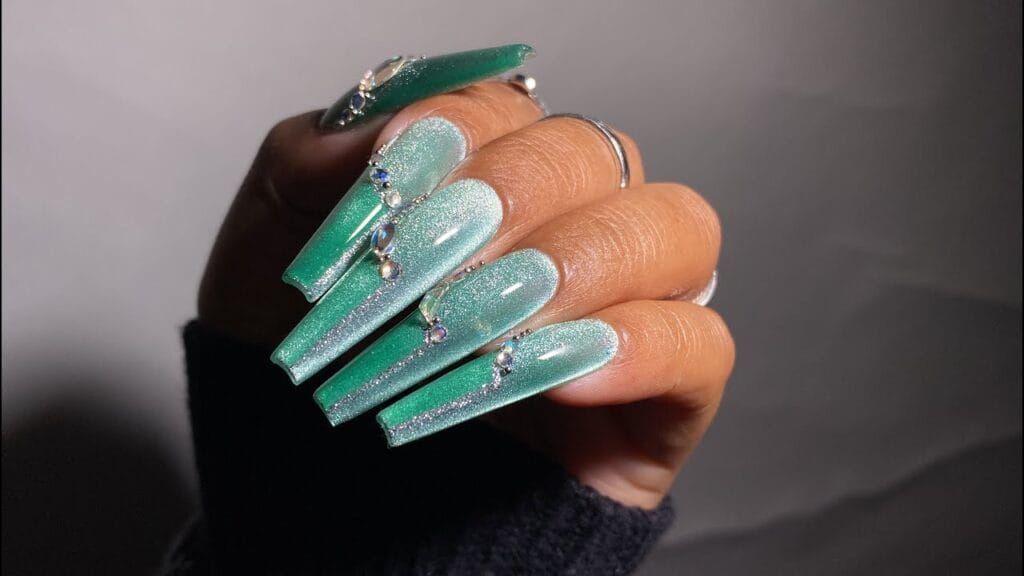
Gorgeous Green Nail Design for Christmas: Best Christmas Nail Tutorial
As the festive season approaches, it’s time to start thinking about your holiday look. One of the best ways to showcase your festive spirit is through your nails! This year, why not try a gorgeous green nail design that embodies the essence of Christmas? Here’s a step-by-step tutorial to guide you through creating a stunning green nail art that will make you the star of any holiday gathering.
Why Green for Christmas?
Green is not just a color; it’s a symbol of peace, balance, and prosperity. It evokes the image of lush Christmas trees and holly berries, making it perfect for the season. With various shades of green to choose from, you can create everything from a subtle alpine forest look to a bold emerald design.
What You’ll Need
Tools and Supplies:
- Base coat
- Green nail polish (various shades)
- Gold or glitter polish
- Top coat
- Nail art brushes or dotting tools
- Nail tape (optional)
- Acetone and cotton pads for cleanup
- Nail file
- Cuticle oil
Step-by-Step Tutorial
Step 1: Prep Your Nails
Start by removing any old nail polish and gently filing your nails into your desired shape. Push back your cuticles and apply a base coat to protect your nails. This step is essential for ensuring your polish lasts longer and your nails remain healthy.
Step 2: Apply the Base Color
Choose a deep green polish as your base color. Apply two thin coats to ensure even coverage, allowing each coat to dry thoroughly in between. This rich color will serve as the perfect canvas for your design.
Step 3: Create a Design
Now comes the fun part—design! Here are a few ideas to consider:
1. Glitter Tips:
Using a glitter polish, apply it to the tips of your nails to create a chic ombre effect. This adds a touch of glamour and shimmers beautifully in the light.
2. Holly and Berries:
With a fine-detail brush, paint small leaves and red dots (for the berries) on a couple of accent nails. This classic Christmas design captures the holiday spirit perfectly.
3. Geometric Patterns:
For a modern twist, use nail tape to create geometric shapes on your nails. Fill in the shapes with different shades of green or gold for a striking visual.
Step 4: Add Some Shine
Once your designs are dry, apply a top coat to seal in your artwork and add a glossy finish. This step will not only enhance the look but also protect your design from chipping.
Step 5: Clean Up and Moisturize
Use acetone and a brush or cotton pad to clean up any excess polish around the cuticles. Finish off by applying cuticle oil to keep your nails and skin hydrated.
Tips for Perfect Nails
- Be Patient: Allow each layer of polish to dry thoroughly before applying the next to prevent smudging.
- Get Creative: Don’t hesitate to mix shades of green or try other holiday-themed designs!
- Practice Makes Perfect: If you’re new to nail art, practice on a plastic nail wheel before working on your own nails.
Conclusion
This gorgeous green nail design is sure to elevate your holiday style and spread festive cheer wherever you go. Whether you keep it simple or go all out with intricate designs, your nails will be a stunning addition to your Christmas look. Have fun experimenting with different styles and enjoy the compliments that come your way!
Happy Holidays and happy polishing!

