10 Vibrant Techniques to Transform Your Pumpkins into Stunning Works of Art!
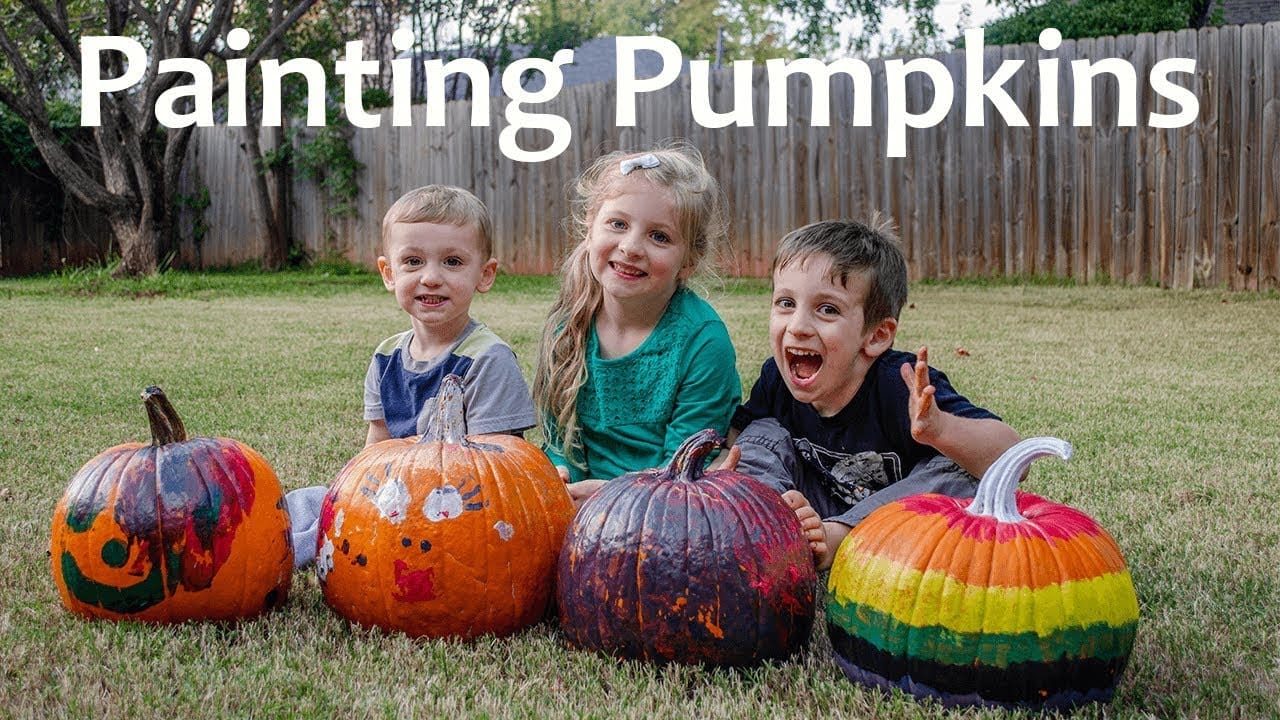
This is a family first for us. Every October we carve pumpkins, but not this year! I wanted to try something new, and I’m glad we did.
source
Painting Pumpkins: A Fun and Creative Fall Activity
As the crisp air of autumn sweeps in and the leaves begin to change color, one of the season’s most beloved traditions comes to life: pumpkin decorating. While traditional carving is a time-honored method, painting pumpkins has emerged as a popular, creative, and family-friendly alternative. Whether you’re an experienced artist or a casual crafter, painting pumpkins offers an opportunity for individual expression and communal fun.
Why Paint Instead of Carve?
Safety First
One of the primary benefits of painting pumpkins over carving them is safety. Carving can be a sharp business – particularly for younger children, who may struggle with carving tools. By opting for paint, you can engage a broader range of ages in the activity, allowing children and adults alike to contribute without the fear of injury.
Longevity of Your Pumpkin
Carved pumpkins have a shorter lifespan, typically lasting a week or two before they begin to rot and decay. Painted pumpkins, on the other hand, can last for weeks and even through the holiday season if properly cared for. This durability means you can enjoy your festive decorations for longer without the worry of pumpkin deterioration.
Artistic Expression
Painting allows for greater creativity and artistic expression. Carving often leads to specific designs that can be limiting in terms of creativity. With paint, virtually any design is possible! From classic Halloween themes like ghosts and bats to colorful and whimsical designs, individuals can let their imaginations run wild.
Tools and Materials Needed
Before you begin your painting adventure, it’s helpful to gather the right materials. Here’s a list of essentials:
- Pumpkins: Choose a variety of shapes and sizes for a more interesting display.
- Acrylic Paints: These are preferred for their vibrant colors and ease of use. Other options include fabric paints or spray paints.
- Paintbrushes: A variety of sizes will help with detail work and broader strokes.
- Palette: For mixing colors and holding paint.
- Water Cup: For rinsing brushes.
- Paper Towels or Rags: Ideal for cleaning up spills and drying brushes.
- Sealant: Optional, but a clear acrylic sealer can protect your finished pumpkin from the elements.
Steps to Create Your Masterpiece
1. Preparation
Start by setting up your workspace. Cover tables with newspapers or plastic sheets to protect surfaces from paint spills. If you’re painting indoors, ensure the area is well-ventilated.
2. Clean Your Pumpkins
Wipe down the surface of your pumpkins with a damp cloth to remove any dirt. This helps paint adhere better.
3. Plan Your Design
Sketch out your design on paper or directly on the pumpkin with a light pencil. This serves as a guide while you work. Consider adding seasonal elements—think autumn leaves, spooky creatures, or festive patterns.
4. Start Painting
Begin with a base coat if you’re using a light color, as this can help the overall design pop. Allow this layer to dry before adding details. Use different brush sizes for varying textures, and don’t be afraid to experiment with layering colors or using sponges for unique effects.
5. Add Details
Once the base coat is dry, add your intricate designs. This is where the fun happens! Consider using stencils for lettering or complex shapes. Glitter, rhinestones, or fabric overlays can also enhance your design for added flair.
6. Seal and Display
Once your masterpiece is complete and thoroughly dried, consider applying a clear acrylic spray to protect it from the elements, especially if it’s going outside. Find a cozy spot to display your painted pumpkins, whether it’s on your porch, at a party, or as part of your home décor.
Additional Tips
- Involve Everyone: Make pumpkin painting a group activity. Invite friends, family, or neighbors to join and turn it into a festive gathering.
- Try Different Textures: Incorporate different materials such as fabric, natural elements (like twigs or leaves), or even paper cutouts to add depth to your designs.
- Theme Your Pumpkins: Try creating a themed set, such as a Halloween monster family, fall harvest, or a whimsical garden.
Conclusion
Painting pumpkins is more than just a delightful fall activity; it’s an opportunity for creativity, community, and lasting memories. With safety, longevity, and endless artistic possibilities, this practice is sure to become a staple of your autumn celebrations. So gather your supplies, unleash your creativity, and enjoy the vibrant world of painted pumpkins this fall! Happy crafting!


Post Comment