Learn to paint this quick and easy Rocketship boy face painting design. Don’t forget to LIKE and SUBSCRIBE to my channel Hit …
source
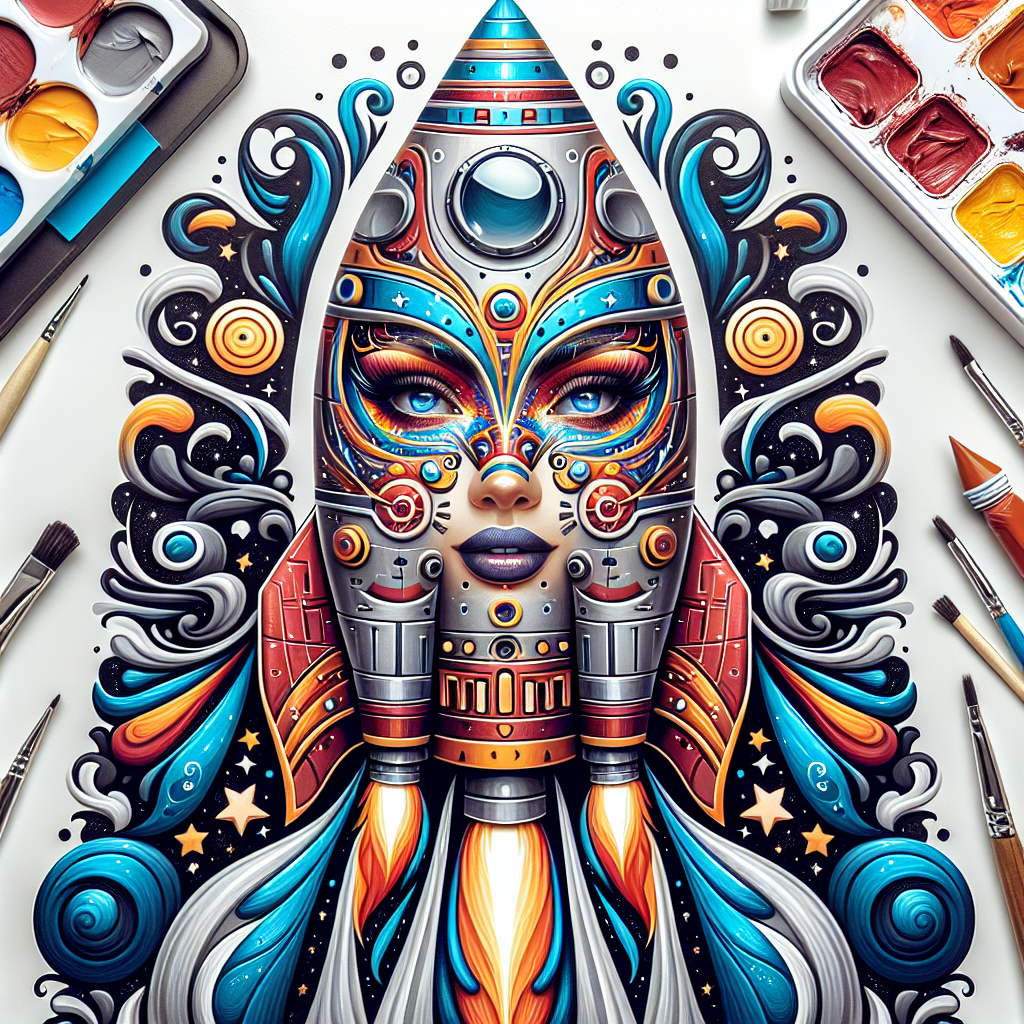
Rocketship Face Painting Tutorial by Arielpaints
Face painting is a fantastic way to unleash your creativity and provide joy to others, especially at events such as birthday parties, festivals, and fairs. If you’re looking to add a unique design to your face painting repertoire, the Rocketship design is a fantastic choice that thrills kids and adults alike. This article will guide you through an exciting Rocketship face painting tutorial by Arielpaints, known for her vibrant and playful designs.
Materials You Will Need
Before diving into the tutorial, gather the following materials:
- Face paints: Choose high-quality, skin-safe face paints in various colors (blue, red, yellow, white, black, and grey).
- Brushes: A variety of brushes including flat brushes (for larger areas), round brushes (for details), and a fine-tipped brush (for small details).
- Sponge: For applying base colors smoothly.
- Water: For wetting your brushes and sponges.
- Paper towel: For cleaning brushes between colors.
- Setting powder or spray: To set your design and make it last longer.
Step-by-Step Instructions
Step 1: Prepare the Face
Before applying any paint, ensure that the face is clean and dry. If necessary, wipe it down to remove any oils or dirt. For better adherence of the paint, you may apply a light layer of moisturizer or face primer.
Step 2: Base Color
Using a sponge, apply a base layer in blue across the forehead and around the temples. This will provide a sky backdrop for the rocket ship. Smooth the paint out evenly to ensure that it’s not too thick in any area.
Step 3: Create the Rocketship Shape
Using a flat brush, take red face paint and create a simple rocket shape in the center of the forehead. Start with a triangular top for the rocket and extend it downwards in a slightly narrower shape. The lower part can be rounded to give it a classic rocket ship look.
Step 4: Detailing the Rocket
Once the red base is dry, switch to a small round brush and outline the rocket in black. Add windows by painting two small oval shapes at the top, and don’t forget to draw flames at the bottom using orange and yellow face paint.
Step 5: Add Additional Elements
To enhance the design, add stars or planets around the rocket ship using white and yellow. You can use a fine-tipped brush for this or even use a sponge to dab on small dots for stars.
Step 6: Finishing Touches
Use black paint to add small details such as rivets or lines on the rocket body to give it more dimension. You can also define the flames of the rocket with smaller brush strokes of red and yellow.
Step 7: Set Your Artwork
Once everything is dry, lightly dust the painted areas with setting powder or spray to help your design last through wear and tear. Ensure you apply it gently, so you don’t smudge the artwork.
Step 8: Enjoy!
Now that your Rocketship face painting is complete, it’s time to enjoy the transformation! Encourage the wearer to pose for pictures and show off their new space adventure look.
Tips for Success
- Practice: If you’re new to face painting, practice on paper or your forearm before attempting it on someone’s face.
- Color Selection: Use colors that are vibrant and easily identifiable to ensure clarity in your design.
- Stay Hygienic: Always use clean brushes and sponges, and never double-dip into your paint pots to maintain hygiene.
- Create a Fun Experience: Engage with the person you’re painting to turn the experience into a fun and memorable moment.
Conclusion
The Rocketship face painting tutorial by Arielpaints is a delightful design that captures the imagination and adds a splash of fun to any occasion. Whether you’re a beginner or an experienced artist, this step-by-step guide will help you create an eye-catching look that your audience will love. So gather your supplies, channel your inner artist, and let your creativity take flight!

