5 Proven Steps to Craft the Ultimate Wooden House on Water in Minecraft!
minecraft #minecrafttutorial #houseminecraft ➜Minecraft: How to build a simple wooden house on water ➜Another home guide …
source
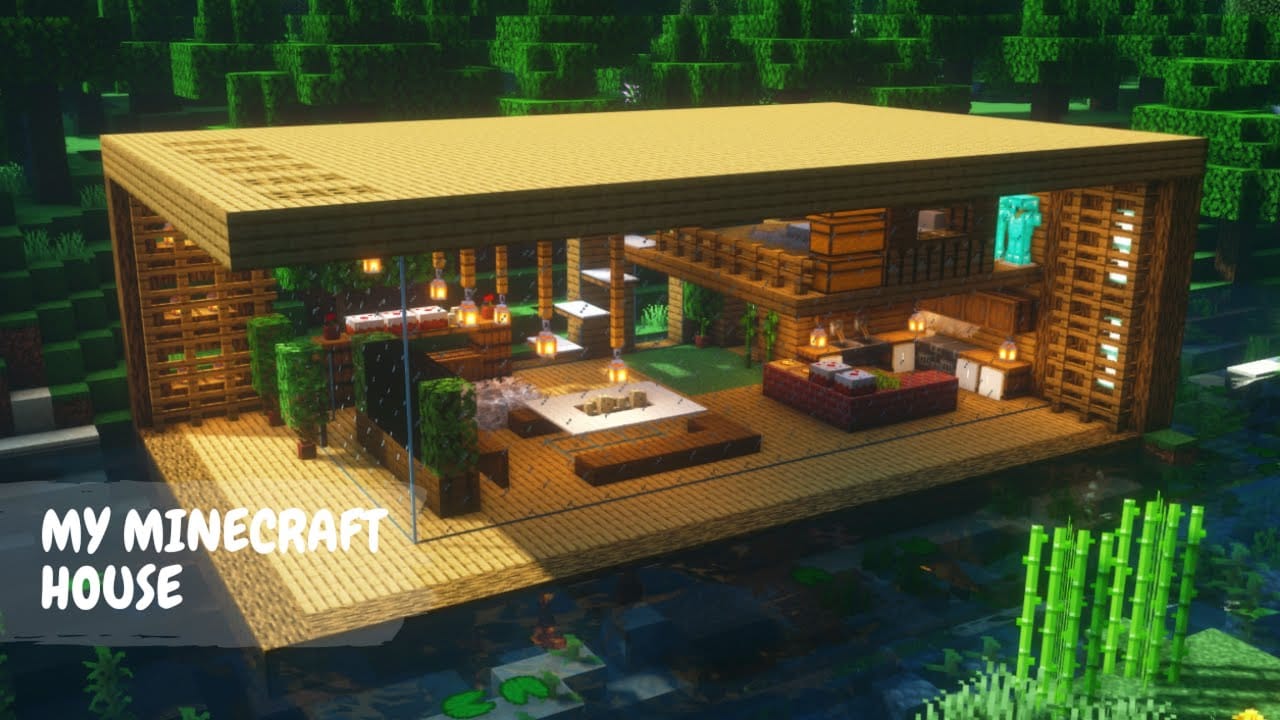
Minecraft: How to Build a Simple Wooden House on Water
Minecraft, the beloved sandbox game, offers players limitless opportunities for creativity, exploration, and building. One of the most enchanting ways to bring your creative vision to life is by constructing a house on water. Whether you’re looking for a serene retreat surrounded by nature or a unique living space that stands out, a wooden house on water is both functional and visually appealing. In this guide, we’ll walk you through the steps to create a simple yet charming wooden house that floats on water.
Materials Needed
Before diving into the construction process, gather the following materials:
- Wood planks (any type: oak, spruce, birch, etc.)
- Wooden logs
- Glass panes or blocks (for windows)
- Crafting table
- Door (wooden)
- Torches (for lighting)
- Optional: Fences, ladders, and decorative items
Step 1: Location, Location, Location
Finding the right body of water is crucial for your build. Look for a serene lake or calm ocean that provides ample space. Make sure it’s free of obstacles like rivers or deep caves that might compromise your construction or spoil the view.
Step 2: Building the Foundation
Determine the Shape: Decide on the dimensions of your house. For a simple design, a 5×5 or 7×7 square is ideal for beginners.
Create the Base: Start by placing wood planks directly onto the water surface to form the base. You can expand this base horizontally using additional planks until you reach the desired size.
- Add Support: To give it a sturdier appearance, place wooden logs at the corners of your base. This will make your house look anchored and add visual interest.
Step 3: Constructing the Walls
Build Upward: Start building up the walls around your base using wood planks. You can make the walls as high as you want, but a height of 3 blocks is usually sufficient for a cozy feel.
Leave Space for Windows: As you build the walls, don’t forget to leave openings for windows and doors. A simple two-block window looks great, while a single block can work for smaller designs.
- Add a Door: Choose one wall to have an entrance, and place a wooden door in the opening.
Step 4: Adding Windows
- Inserting Glass: Fill the window openings with glass panes or glass blocks. Panes utilize fewer resources and allow for a more open view, while blocks can provide more privacy.
Step 5: Building the Roof
Choose a Design: Simple flat roofs can work well for beginners, while a peaked roof adds character. For a flat roof, just lay wood planks across the top perimeter of the walls. For a peaked roof, you’ll need to create a triangular shape using stairs or slabs.
- Add a Roof Overhang: Extending the roof beyond the walls can make the house look more dynamic. Use slabs or planks to achieve this.
Step 6: Detailing the House
Lighting: Place torches inside and outside your wooden house to keep it well-lit and safe from mobs.
Fencing: Surround your house with wooden fences to create a balcony or deck that extends over the water. This adds safety and aesthetic appeal.
- Decorations: Personalize your space by adding furniture using stairs for chairs and slabs for tables. You can also place flower pots, paintings, and other decorative items to make it feel homely.
Step 7: Landscaping
Consider landscaping around your wooden house. You can plant trees, flowers, and even create a small dock or pier to enhance the natural look of your aquatic abode.
Conclusion
Building a simple wooden house on water in Minecraft is not only an enjoyable project but also a beautiful way to immerse yourself in the game’s natural beauty. This guide provides a straightforward approach for beginners while allowing room for creativity and personal touches. So gather your materials, find that perfect spot on the water, and let your imagination guide you as you create your enchanting floating home. Happy building!


Post Comment