5 Steps to a Stunning Half-Face Swan Design: Quick and Cute Face Painting Tutorial for Busy Events!
Materials I used: Face painting kit: https://amzn.to/3mRs6hH Brushes: https://amzn.to/3xRkmmk Face Painting designs: …
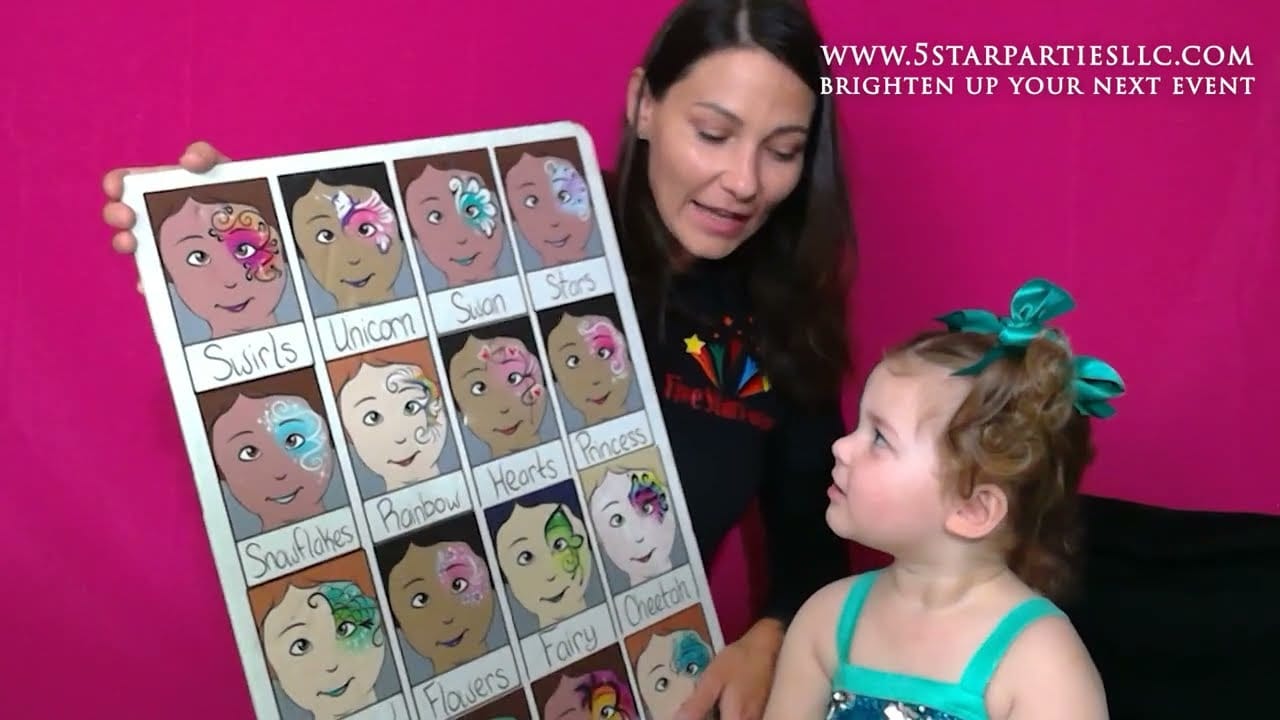
source
Super Fast and Cute Half-Face Swan Design: A Face Painting Tutorial
Face painting is a delightful way to bring joy to events, especially for kids. When you’re in a hurry, it’s essential to have a few quick designs up your sleeve. One of the most timeless and elegant designs is the half-face swan. This tutorial will guide you through a stunning yet simple method to create a half-face swan design, perfect for busy events like fairs, parties, or any festive gatherings.
Materials Needed
Before you start painting, make sure you have the following materials:
- Face Paint: Use high-quality water-based face paints in white, black, and gold (or yellow) for accents.
- Brushes: A flat brush (for base colors), a fine brush (for details), and a sponge.
- Palette: For mixing and managing your paints.
- Water Cup: For rinsing brushes.
- Paper Towels: For drying brushes and cleaning.
Step-by-Step Tutorial
Step 1: Prepare the Base
- Apply White Base: Start by using a flat brush or a sponge to apply white face paint on the face, covering from the forehead down to the cheekbone on one side of the face. This will serve as your base for the swan.
Step 2: Add the Swan’s Features
- Shape the Swan’s Neck: With your fine brush, use black paint to create the elegant curve of the swan’s neck. Start from the forehead, descending gracefully towards the cheekbone. The neck should be a fluid, upward curve, resembling the classic swan silhouette.
Step 3: Create the Swan’s Head
- Paint the Head: At the top of the neck, create the swan’s head by painting an oval shape. Make sure to taper it down toward the body.
Step 4: Detail the Eye
- Add the Eye: Using the fine brush, paint one large eye just above the neck. You can either keep it simple with a black dot or add highlights with white paint to make it sparkle.
Step 5: Accentuate with Colors
- Gold or Yellow Accents: Use gold or yellow paint to add details such as feathers along the neck and a slight shimmer to the swan’s body. These accents will brighten up the design and give it an elegant finish.
Step 6: Final Touches
- Add Glitter (Optional): If you have glitter, lightly sprinkle it over the white base for a sparkling effect. This step is especially popular with children and can make the swan design even more magical.
Tips for Speed
- Practice Makes Perfect: The more you practice, the faster you’ll become at executing the design.
- Simplify: Depending on the available time, feel free to adjust the number of details to suit the time constraints.
- Get Help: If you’re working at a busy event, consider having an assistant for gathering materials or rinsing brushes.
Conclusion
This half-face swan design is not only quick to apply but also adds a touch of elegance to any event. It’s perfect for festivals, parties, or any gathering where you need to serve a lot of children in a short amount of time. With its graceful lines and cute features, the design is sure to be a hit!
So grab your brushes and get ready to spread some joy with this beautiful swan face painting!


Post Comment