7 Essential Steps to Masterfully Build a Retaining Wall with Wall Blocks
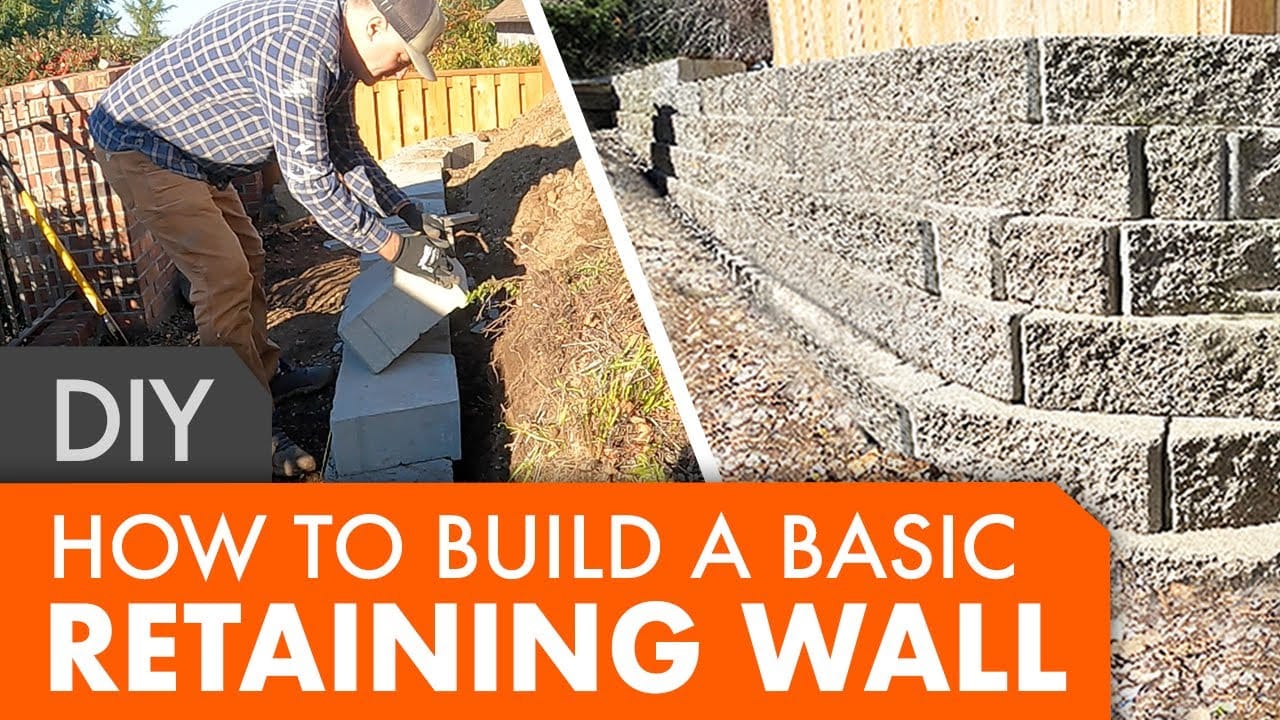
This is not the most fun project. But it’s fairly satisfying when you start stacking the blocks. Make sure to start with a well compacted …
source
How to Build a Retaining Wall with Wall Blocks
A retaining wall is an effective solution for managing soil erosion, creating terraced landscapes, or developing functional outdoor spaces. Building one may seem daunting, but with the right materials, planning, and techniques, you can build a sturdy and stylish retaining wall using wall blocks. Here’s a step-by-step guide to help you through the process.
Materials You’ll Need
Before you start, gather the following materials:
- Wall Blocks: Choose interlocking concrete blocks for ease of construction.
- Base Material: Gravel, crushed stone, or compacted soil for the base.
- Geotextile Fabric: Helps in drainage and prevents soil from mixing with gravel.
- Drainage Pipe: PVC or perforated pipe to prevent water buildup behind the wall.
- Level and String Line: For ensuring a straight, level wall.
- Shovel and Trowel: For digging and leveling.
- Compactor or Tamper: To compact the base material.
- Safety Gear: Gloves and goggles.
Step-by-Step Instructions
Step 1: Plan Your Design
Before starting, determine the height, length, and location of your retaining wall. Consider local regulations, as some areas have restrictions on wall height. Make sure your wall will handle the anticipated pressure from the soil behind it.
Step 2: Prepare the Site
- Clear the Area: Remove any grass, plants, and debris from the area where the wall will be built.
- Mark the Outline: Use stakes and string to outline where your wall will go. This will help guide you during construction.
- Excavate the Trench: Dig a trench that is about 12-18 inches deep and twice as wide as the blocks. This base will support the wall and is critical for stability.
Step 3: Create a Solid Base
- Add Base Material: Pour 4-6 inches of gravel or crushed stone into the trench. This base helps with drainage and provides a solid foundation.
- Compact the Base: Use a compactor or tamper to level and compress the material, ensuring it’s even and sturdy.
Step 4: Lay the First Course of Blocks
- Install Geotextile Fabric: Lay down geotextile fabric in the trench to help keep soil from mixing with the gravel.
- Place the First Block: Start at one end of the trench and lay the first wall block. Use a level to ensure it’s flat and straight.
- Continue Laying Blocks: After the first block is set, continue laying the subsequent blocks in a staggered pattern, similar to a brick wall, to enhance stability. Check level frequently.
Step 5: Backfill and Drainage
- Add Drainage Pipe: If your wall will be retaining a significant amount of soil, it’s essential to install a drainage pipe behind the first row of blocks. This pipe should slope away from your wall to direct water away from the foundation.
- Backfill with Gravel: As you build the wall higher, backfill with gravel behind the blocks in layers, leaving space for proper drainage.
Step 6: Build Additional Courses
- Repeat the Process: Continue adding courses of blocks, ensuring each row is level and staggered from the row below it. Use the level to check each block’s placement.
- Additional Backfilling: As each new row is placed, backfill with gravel to maintain drainage and structural support.
Step 7: Finish the Top
- Install a Capstone: For a finished look, consider adding capstones on the top course. These larger blocks can be glued or adhered with construction adhesive to keep them stable.
- Final Backfill: Once the wall is complete, fill in all the exposed areas behind the wall with soil or additional gravel if needed.
Step 8: Clean Up
Remove any excess materials and debris from the site. It’s important to make the area look tidy and safe.
Maintenance Tips
- Check for Drainage Issues: Regularly inspect the drainage system to ensure it is working correctly and not clogged.
- Inspect for Damage: Periodically check the wall for any cracks or shifts. Address any issues promptly to maintain stability.
Conclusion
Building a retaining wall with wall blocks is an achievable DIY project that can greatly enhance your landscape and prevent erosion. By following these steps carefully and ensuring proper drainage, you’ll create a long-lasting and functional structure that complements your outdoor space. Happy building!


Post Comment