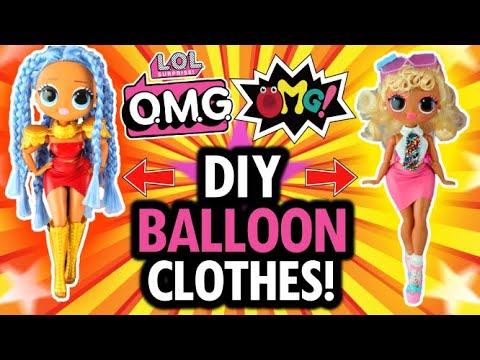
Lol Surprise OMG Series 3 is on the way and I’m so excited! I have 10 DIY Balloon inspired looks for my lol dolls! , skirts, dresses, …
source
DIY Balloon Clothes & Accessories for LOL Surprise OMG Dolls: A Crafty Guide
The world of LOL Surprise OMG dolls is not just about collecting and playing; it’s also an incredible platform for creativity and imagination. With their fabulous features and stylish outfits, these dolls inspire fans to create their own masterpiece looks. In this article, we’ll explore how to make DIY balloon clothes and accessories for your LOL OMG Series 2 dolls, bringing a unique twist to your doll collection.
Why DIY Balloon Clothes?
Creating clothes and accessories from balloons is a fun and innovative way to customize your dolls. It’s lightweight, colorful, and allows for endless creativity. Balloon clothing can mimic various styles, from casual chic to glamorous evening wear. Plus, it’s a great way to recycle old balloons!
Materials Needed
Before you start your DIY project, gather the following materials:
- Balloons: Various colors, preferably 260Q or 350Q (the long ones that can be easily twisted).
- Scissors: For cutting balloons.
- Ribbon or string: For tying and securing parts.
- Markers: To add designs or details.
- Glue: For attaching accessories.
- Crafting Tools: Such as a balloon pump and a needle (for intricate work).
Step-by-Step Guide to Making Balloon Clothes
1. Designing the Outfit
Decide on the type of clothing you want to create. Some popular choices are dresses, skirts, shirts, or even pants. Sketch out your ideas or look for inspiration from existing LOL OMG doll outfits.
2. Preparing the Balloons
- Inflate the Balloons: Use a balloon pump to inflate the balloons. For a fitted look, you can partially inflate them and tie them off.
- Cut the Balloons: Trim the balloons to the desired length for skirts, tops, or sleeves. You can also create ruffles by cutting small slits along the edges of the balloon pieces.
3. Assembling the Outfit
- Dresses: For a simple dress, use one balloon as the base. Twist it around the doll’s waist and secure it with a piece of string or ribbon. Add layers by using additional balloons to create a layered look.
- Tops and Skirts: Use separate pieces. Twist a balloon for the top and balance it with a fuller balloon for the skirt. Secure each piece together with ribbon or string.
4. Creating Accessories
- Belts and Headbands: Cut thin pieces of balloons to make stylish belts or headbands. You can also twist several small balloons together to form more elaborate designs.
- Bags and Shoes: Construct mini bags by twisting balloons into small pouches and secure them with a knot. For shoes, flatten small balloons and attach them to the feet of your dolls.
5. Adding Details
Once your outfit is assembled, enhance it with details. Use markers to draw patterns or add tiny accessories that can be glued on, like flowers or bows made from leftover balloon scraps.
Tips for Success
- Experiment with Colors: Use contrasting or complementary colors to make your dolls stand out.
- Practice Balloon Techniques: The more you work with balloons, the better you’ll get at twisting and shaping them.
- Community Inspiration: Join online forums or social media groups focused on LOL Surprise dolls for more ideas and to showcase your creations.
Conclusion
DIY balloon clothing and accessories for LOL Surprise OMG dolls is an exciting and imaginative way to personalize your collection. With just a few materials and some creativity, you can craft stylish outfits that reflect your personality and fashion sense. So, gather your balloons, unleash your inner designer, and elevate your playtime with fun, homemade fashions for your dolls!

![5 Jaw-Dropping Trends in Chinese Street Fashion: Unleashing the Power of TikTok Style [抖音]](https://holyteachings.org/wp-content/uploads/2025/07/1751788016_maxresdefault-150x150.jpg)