Transform Your Bathroom: 5 Easy Steps to Revamp Floor Tiles & Complete Makeover for Under $200 | Stunning Before & After!
EASILY Paint Bathroom Floor Tiles + Bathroom Makeover Under $200 | Before and After. Painting vs peel and stick tiles.
source
EASILY Paint Bathroom Floor Tiles + Bathroom Makeover Under $200 | Before and After
Transforming your bathroom can seem like a daunting and expensive task, but with a little creativity and effort, you can achieve a stunning makeover for under $200. One of the most effective ways to refresh your space is by painting your bathroom floor tiles. In this article, we’ll guide you through an easy process, showcasing before and after photos to inspire your DIY adventure.
Why Paint Tiles?
Painting your bathroom floor tiles can breathe new life into an old and worn space. Here are some benefits:
- Cost-Effective: Replacing tiles can be expensive. Painting is a much more budget-friendly option.
- Quick Transformation: The process takes significantly less time than a full renovation.
- Unique Style: You can customize colors and patterns to suit your style, resulting in a unique look.
Materials You’ll Need
To achieve a beautiful finish, gather the following materials:
- Tile Primer: Ensures paint adherence.
- Specialized Tile Paint: Choose a high-quality, durable paint for floors.
- Paint Brushes/Rollers: For even application.
- Painter’s Tape: To protect edges and create clean lines.
- Sandpaper: For smoothing surfaces before priming.
- Sealant: Important for protecting your finished work from moisture.
Step-by-Step Guide
1. Prepare the Area
- Clear the Space: Remove any items from the bathroom. This makes it easier to work and protects your belongings.
- Clean the Tiles: Scrub the floor to remove dirt, grime, and soap residue. A clean surface is crucial for adhesion.
2. Sand and Prime
- Sand the Tiles: Lightly sand the tiles to create a rough surface. This will help the primer and paint stick better.
- Apply Primer: Use a brush to apply the tile primer evenly. Let it dry completely (usually 1-2 hours depending on the product).
3. Paint the Tiles
- Choose Your Color: Opt for a base color that matches your desired aesthetic. Light colors can make a small bathroom feel larger.
- First Coat: Using a roller or brush, apply the first coat of tile paint. Let it dry according to the manufacturer’s instructions.
- Second Coat: Apply a second coat for full coverage.
4. Sealing the Tiles
- Apply Sealant: After the paint has fully dried, apply a protective sealant. This step is crucial for preventing water damage, especially in a bathroom setting. Follow the sealant instructions for best results.
Bathroom Makeover Ideas
While you’re at it, consider a few additional touches to elevate your bathroom without breaking the bank:
- New Fixtures: Changing out hardware like faucets, towel bars, and cabinet handles can add a modern touch.
- Wall Color: A fresh coat of paint on the walls can drastically change the ambiance. Pick a complementary color to your new floor.
- Accessories: Introduce new towels, a shower curtain, and decorative items that align with your new color scheme.
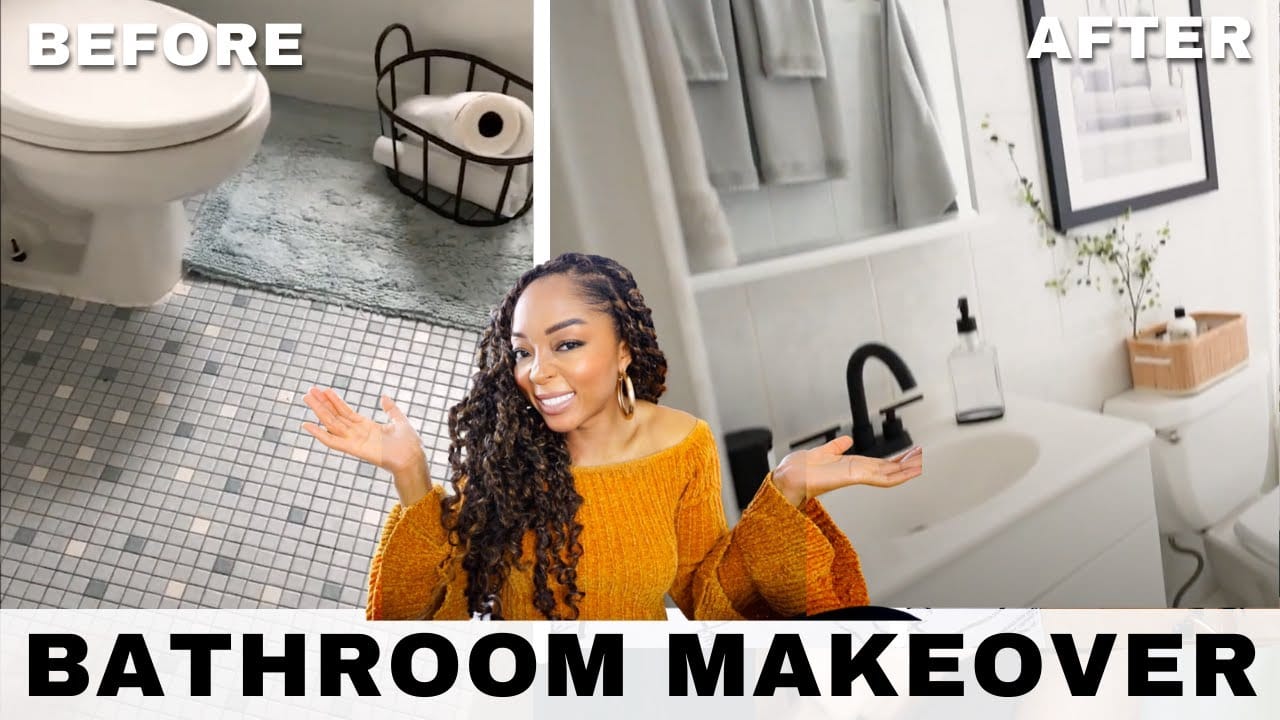
Before and After Transformation
Imagine stepping into a drab, outdated bathroom and seeing fresh, vibrant tiles underfoot instead. The before picture might show dull, chipped tiles, but the after shot reveals a stunning transformation, accentuated by new décor and fixtures—all achieved for under $200.
Before

After
Conclusion
Transforming your bathroom floor tiles through painting is a simple yet highly effective way to rejuvenate your space without spending a fortune. With careful planning and a few DIY skills, you can create a beautiful and stylish bathroom for under $200. Take inspiration from the before and after examples and get started on your own bathroom makeover today!


Post Comment