I was running out of space in my garage, and everything in the garage was dusty. So I decided it was time for some upgrades!
source
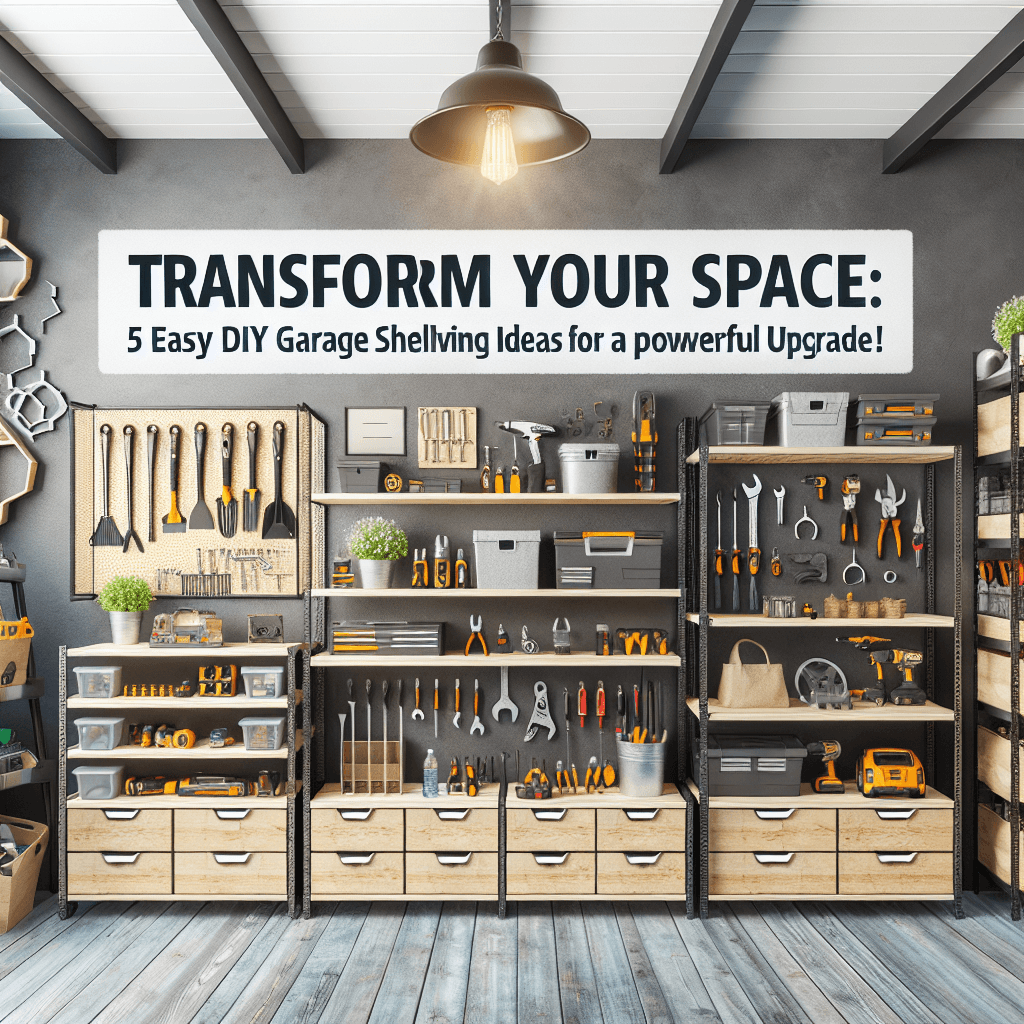
Easy DIY Garage Shelving/Cabinet – #GarageUpgrade
Are you tired of a cluttered garage that makes it difficult to find your tools, gardening supplies, and seasonal decorations? If so, it’s time for a garage upgrade! Building your own shelving or cabinet can be an easy and rewarding weekend project that will not only enhance the functionality of your garage but also give you a sense of accomplishment. In this article, we’ll guide you through a simple DIY project to create sturdy garage shelving or cabinets that will help you maximize your space while keeping everything organized.
Why Build Your Own Garage Shelving?
- Customization: When you build your own shelving, you can tailor the dimensions, materials, and layout to best fit your space and storage needs.
- Cost-Effective: Purchasing pre-made shelving can be expensive. By using readily available materials, you can save money and achieve a professional look.
- Quality Control: Building your own shelving allows you to choose high-quality materials to ensure durability and longevity.
- Skill Development: This project serves as an excellent introduction to woodworking, providing valuable skills that you can apply to other projects around the house.
Materials You’ll Need
- Plywood or MDF (Medium Density Fiberboard): For the shelves and sides.
- 2×4 lumber: For the frame.
- Wood screws: To hold everything together.
- Wood glue: For added strength.
- Sandpaper: To smooth down edges and surfaces.
- Paint or varnish: For finishing touches and protection against moisture.
- Brackets or shelf pins: To support the shelves.
- Tools: Circular saw, drill, measuring tape, square, and a level.
Step-by-Step Instructions
Step 1: Plan Your Design
Before you start cutting any wood, take some time to sketch out your shelving or cabinet design. Consider the height, width, and depth you want. Take measurements of your garage space to ensure a snug fit. A good rule of thumb for garage shelves is to keep them 12-16 inches deep.
Step 2: Cut Your Materials
Using your circular saw, cut the plywood or MDF into your desired shelf sizes. For a basic cabinet, you’ll need a top, bottom, two sides, and a number of shelves. The 2×4 lumber will be used for the frame, so cut these to correspond with your planned size as well.
Step 3: Assemble the Frame
Using the wood screws and a drill, assemble the frame of the shelving unit. Start by attaching the two side pieces to the bottom, then attach the top. Make sure everything is square, using the square tool. You can add an additional support beam in the middle if you plan on storing heavier items.
Step 4: Attach the Shelves
Once the frame is secure, you can attach the shelves. Depending on how you want to adjust them in the future, you can use brackets or pre-drill holes for shelf pins. Determine the height where you want each shelf to sit and attach them firmly.
Step 5: Finishing Touches
Sand the edges and surfaces to avoid splinters and rough spots. Once smoothed, paint or varnish your shelving to protect it from moisture and give it a finished look. Choose a color that complements your garage for added aesthetic appeal.
Step 6: Install the Cabinet
If you’re building a free-standing unit, make sure it’s stable and level. If it’s taller and at risk of tipping, consider anchoring it to the wall for safety. Use a level to ensure it’s straight and glue or screw it in place, if necessary.
Step 7: Organize and Enjoy!
Once everything is dry, it’s time to organize your garage! Sort through your items, decluttering as you go, and use the new shelving or cabinet to store everything in its designated spot. Utilize bins, labels, and baskets to further enhance organization.
Conclusion
Creating your own garage shelving or cabinet is a simple DIY project that can drastically improve the functionality of your space. With just a few materials and tools, you can transform a chaotic garage into an organized haven. Not only will you enjoy the benefits of a more functional garage, but you’ll also revel in the satisfaction of completing a successful DIY project. So roll up your sleeves, gather your supplies, and get started on your garage upgrade today!

