OurGrayHouse #DIY #PaintedRocks HOLA EVERYBODY! Today’s video is meant to be an encouragement to you to be …
source
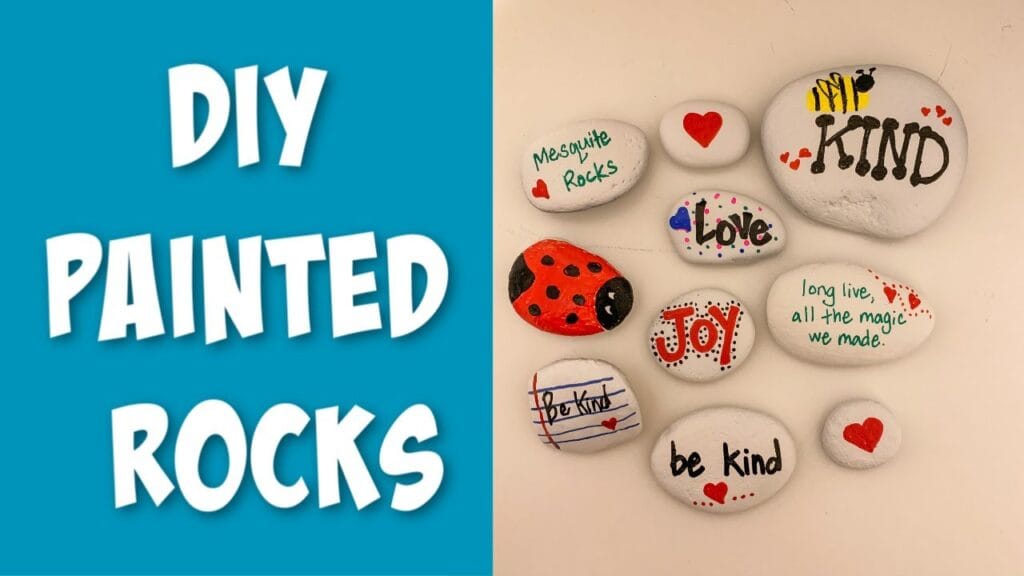
Easy DIY Painted Rocks: A Fun Project for Everyone
At Our Gray House, we believe that creativity can brighten up any space—and what better way to add a touch of charm to your garden, patio, or home than with easy DIY painted rocks? This fun and simple project not only allows you to express your artistic side, but it also provides a sense of accomplishment and a fantastic way to spend time with family and friends. Let’s dive into the process of creating your own beautiful painted rocks!
Why Painted Rocks?
Painted rocks have become a popular trend, capturing the hearts of both kids and adults alike. They are versatile decorations that can serve multiple purposes:
- Garden Decor: Brighten up your flower beds or vegetable garden.
- Pet Rocks: A nostalgic gift idea that can be customized.
- Kindness Rocks: Spread positivity by painting inspirational messages and leaving them for others to find.
- Home Decor: Create whimsical designs to display on shelves or coffee tables.
What You’ll Need
To get started on your painted rock project, gather the following materials:
- Smooth, Clean Rocks: Look for a variety of shapes and sizes. River rocks are a great option.
- Acrylic Paints: Choose vibrant colors that suit your personal style.
- Paint Brushes: A range of brush sizes will help with both detailed designs and larger areas.
- Sealant: A clear acrylic sealer will protect your finished rocks from the elements, especially if they are displayed outdoors.
- Palette or Paper Plates: For mixing and applying paint.
- Water and Paper Towels: To clean brushes between colors.
- Pencil or Chalk: For sketching your design before painting (optional).
Steps to Create Your Painted Rocks
1. Prepare Your Rocks
Start by cleaning your rocks to remove any dirt or debris. If possible, let them air dry completely. This will ensure that the paint adheres properly.
2. Sketch Your Design
Using a pencil or chalk, lightly sketch your design on the rock. This can be anything from simple patterns to more intricate images or messages. If you’re unsure about what to paint, check out some inspiration online or in crafting books!
3. Paint the Base Layer
Begin by applying a base layer of paint. This could be a solid color that will serve as the background for your design. Allow it to dry completely before proceeding to the next step. Acrylic paint dries relatively quickly, which is great for keeping the momentum going.
4. Add Details
Once your base layer is dry, it’s time to add details to your design. Use smaller brushes for intricate work and don’t be afraid to layer colors for depth. You can experiment with various techniques, such as sponging, dotting, or stenciling, to create unique effects.
5. Let It Dry
After you’ve finished painting, place your rocks in a safe space to dry thoroughly. Depending on the thickness of the paint, this can take a few hours.
6. Seal Your Artwork
To protect your beautiful designs, apply a clear acrylic sealer once the paint is dry. This step is especially important if your rocks will be displayed outdoors, as it will safeguard them against weather conditions.
7. Display or Gift Your Rocks
Now that your painted rocks are complete, it’s time to find the perfect spot for them! Arrange them in your garden, position them on your porch, or create a fun rock display inside your home. Alternatively, these beautifully crafted pieces make thoughtful gifts for family and friends.
Tips for Success
- Experiment: Don’t hesitate to try different techniques, color combinations, and designs. The beauty of DIY projects lies in their uniqueness.
- Involve Others: This is a fantastic activity for families, friends, or even a community event. Sharing the creation process can lead to even more fun and inspiration!
- Be Patient: Allow each layer of paint to dry completely before moving on to the next step. Rushing may smudge your designs.
Conclusion
Creating easy DIY painted rocks is not just a craft; it’s an opportunity to unleash your creativity, enhance your surroundings, and spread a little joy. At Our Gray House, we cherish these moments of artistic expression, and we hope you enjoy them just as much. So gather your supplies, invite your loved ones, and start painting your way to a more colorful world! Happy crafting!

