How to crochet a DUCK BAG | Free crochet amigurumi pattern | AmiguWorld Part 1 …
source
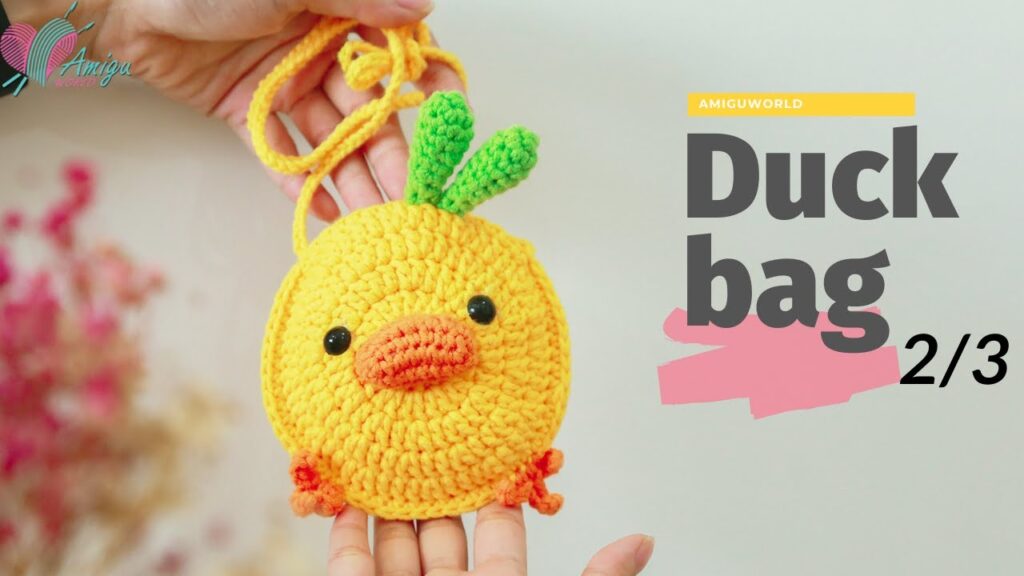
Duck Bag Crochet Tutorial (2/3) | Crochet Amigurumi Fashion Accessories Trend | AmiguWorld
Welcome back to our series on creating the trendy duck bag! In this segment, we’ll dive deep into the crochet techniques and patterns that will bring your adorable amigurumi fashion accessory to life. Whether you’re a seasoned crocheter or a beginner looking to embrace a new challenge, this tutorial is designed for everyone. Grab your yarn, hooks, and a comfy spot to work!
What You’ll Need
Before we jump into the crochet process, let’s gather our materials:
Materials List:
- Yarn: Choose a vibrant yellow for the duck and a contrasting color for the lining.
- Crochet Hook: Size G/4.0mm or as recommended for your yarn.
- Scissors: For snipping yarn.
- Tapestry Needle: For weaving in ends.
- Stitch Markers: To keep track of your rounds.
- Stuffing: For the duck’s head if desired.
- Safety Eyes: For a charming face.
Optional:
- Keychain Clip: If you want to turn your duck bag into a cute keychain accessory!
Step-by-Step Instructions
Round 1: Starting the Base
Begin with a magic ring (or chain 4 and join). Inside the circle, work 6 single crochets (sc). Pull the ring tight, and place a stitch marker to keep track of your first round.
Round 2: Increase in each stitch (12 sc).
Round 3: (1 sc, 1 increase) around (18 sc).
Round 4: (2 sc, 1 increase) around (24 sc).
Forming the Body
Continue the pattern to create the sides of the bag:
Rounds 5-10: Work in sc around without increasing (24 sc each round).
Shaping the Duck Head
After creating the body, we will add a touch of personality:
Rounds 11-12: (3 sc, 1 decrease) around (18 sc on Round 11; 14 sc on Round 12).
Round 13: Time to add the safety eyes. Position them on the head 3-4 stitches apart for balance. Then, continue with (2 sc, 1 decrease) for the next two rounds to create the beak.
Beak: Change yarn color to orange and work 4 sc in a straight row, turning at the end. Attach securely to the front of the head.
Making the Handle
Use a long chain stitch (approx. 60 chains) for the bag’s handle. Attach one end to the top side of the bag with a slip stitch, then secure it and weave in any loose ends.
Finishing Touches
Consider lining your bag with fabric for added durability and a stylish finish. You can also embellish with small crochet flowers or buttons to personalize your duck bag further.
Tips
- Keep your tension consistent for a neatly finished product.
- Use a stitch marker to track your rounds, especially when increasing or decreasing.
- Don’t hesitate to experiment with colors for a unique twist!
Conclusion
Congratulations on reaching the halfway point of your adorable Duck Bag crochet project! This tutorial should have you well on your way to crafting a delightful amigurumi accessory that’s perfect for any occasion. Remember, practice makes perfect—feel free to unravel and redo any areas until you achieve your desired look.
In our next segment, we’ll focus on adding final details and exploring ways to accessorize your new creation. Stay tuned to AmiguWorld for more fun and fabulous crochet projects! Happy crocheting!